Crisp, shiny and sparkling with cumin seeds, light as air papadum (also called poppadom) is a fav cracker that hails from in the Indian subcontinent.
What Is Papadum?
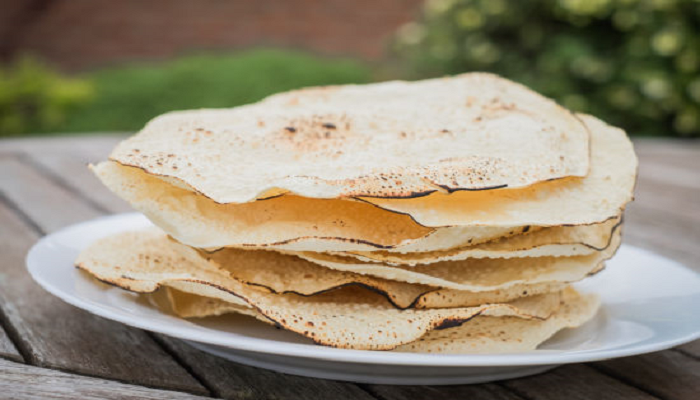
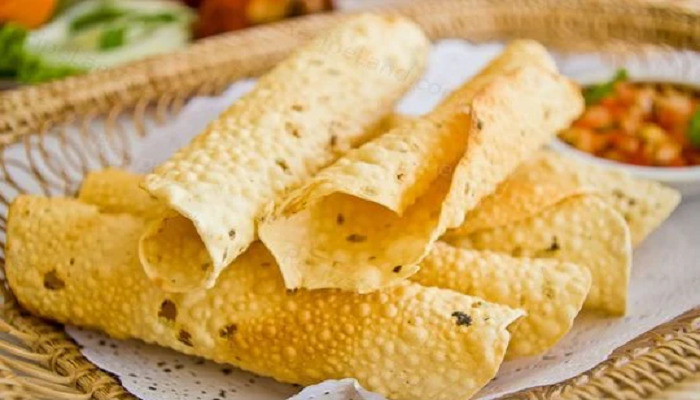
Papadum is a slim, North Indian flatbread with a delicious shatter that’s completely dried prior to the quick dip in hot oil till it’s blistered and golden. It’s served as a an appetizer or as a stand-alone snack. Indian restaurants typically bring them out for an appetizer, accompanied by an assortment of Chutneys to dip.
What Does Papadum Mean?
The word is derived of it being the Sanskrit phrase parpata (prptt) the word papadum refers to, in its simplest interpretation, a wafer-like, thin cake made of flour. Today, it’s regarded as an extremely popular snack food.
Classic Papadum Ingredients
The primary ingredients in classic papadum are:
- Black Gram (also called chickpea flour or urad flour)
- Water
- Salt
- Whole cumin seeds
Other spices such as garlic powder, black pepper and, occasionally, ground chilies may be used to give the cracker a stronger flavor. Rice flour can also be mixed into the black gram, to make the cracker more delicate texture, however not always.
Papadum recipes, just like other Indian recipes, are different by the region and household. They are known to be made using lentil flour, green grain flour in regions such as Bikaner which is a town in Northern Indian State of Rajasthan as well as potatoes, such as those that are found in Varanasi in the state of Uttar Pradesh. It is made by mashing potatoes with spices in a mixture, spread thinly and then dried prior to frying similar to a bigger conventional potato chip.
How Do You Make Papadum?
The dried papadum is cooked by various methods. Each method produces the same texture but with a slight difference.
- Deep-frying for the most crisp results, as described in the recipe below.
- The toasting process is done in the oven of a toaster. In the oven toast the bread on medium or until well-browned and crisp.
- In a microwave. If you’re using a microwave cook for around 2 minutes or until it is crisp. (Keep an eye on it, as microwaves differ!)
Is Papadum Gluten-Free?
Papadum is a gluten-free substitute for naan and roti since it is made of the flour of legumes such as chickpeas or lentils, but is it is not a substitute for bread since in texture, it’s not bread-like. Although papadum is typically cooked in oil from peanuts chickpea flour is high in iron, fiber and protein. healthier versions can be prepared by roasting or baking in an oven.
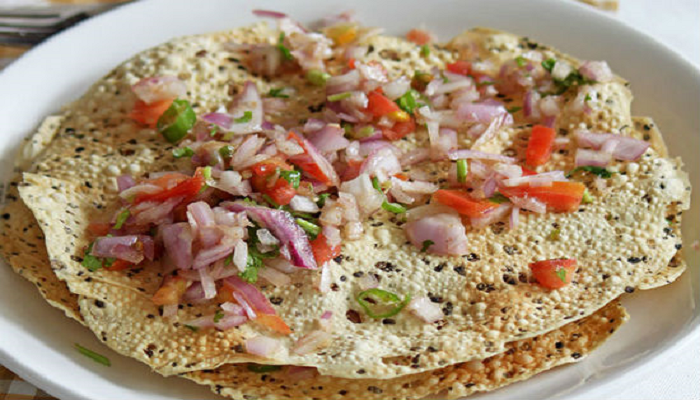
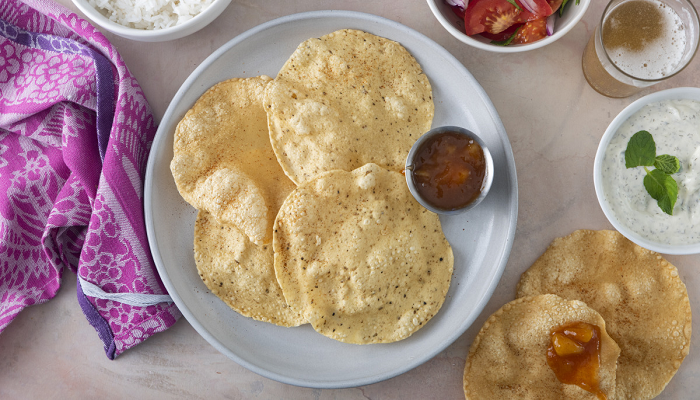
What Is Papadum Served With?
These flexible thin round are as delicious by themselves and with other condiments such as mango chutney. They can be enjoyed prior to eating or served with your preferred food.
Easy Classic Papadum Recipe
Ingredients
Papadums are extremely simple cook at home. You’ll want an ultra-thin, golden brown chip that has airy pockets and bubbles that come from the fryer.
- Pre-heat oven to the lowest setting.
- Combine all the ingredients in an enormous bowl mixing until the squishy dough starts to form.
- Turn out onto an uncluttered work surface and gently knead until the dough is smooth, which takes about 6-7 minutes. (It’s an extremely sticky dough initially, so gently apply some oil as you need it but be careful not to get the dough wet.)
- If the surface of the dough is smooth and elastic, roll it out to the thinnest you can without tearing.
- With an ring mold (in the desired size) or a paring knife, cut the dough into rounds that are about equal to your palm or smaller if you prefer. Distribute out rounds on baking sheets according to your progress; place in oven to dry out.
- Warm oil (poured until it reaches 1 inch in the largest skillet) at medium-high temperatures. When the oil is ready (test first using smaller pieces) take care to carefully place in the dried papadum discs papadum. They will puff up and begin to blister right away Be prepared with tongs for flipping them over when needed, and then remove them after 30 to 45 minutes. If they form a curl in over themselves, simply employ tongs to keep edges until they’ve become crisp enough to keep their shape.
- Transfer the food to a paper towel lined plate.
Cool, then keep in an airtight container.